Pages

Saturday, April 7, 2012

Tutorial: Flowers!!!

Prima Marcel Flowers
In this month's inspiration kit there are some flowers, and since we haven't had flower tutorial lately, I decided now is a great time for another one. Our Gues Designer, Libeeti, has a tutorial on her blog for "Dryer Sheet Flowers" that are super cute and similar to the ones in this month's inspiration kit.  You can see her tutorial on her blog at http://creationswithlove-li-bee-ti.blogspot.com/2010/01/dreyer-sheet-flowers-tutorial.html

Friday, April 6, 2012

Counterfeit Kit Blog Hop

Thank you for joining us on the Counterfeit Kit blog hop today.  I hope you have seen loads of inspiration along the way.  This is the final stop on the hop, enjoy!!!

My kit this month is based off of the inspiration kit mainly by color, rather than exact contents.  I have LOTS of summer swimming pool photos waiting to be scrapbooked that match the color scheme pretty close.  So I decided to stick mostly with the bright pink and bright aqua blue.  I did find 2 pieces of paper that resembled the inspiration papers, but other than that I didn't match the papers piece for piece.

As for embellishments, I just pulled "summertime/swimming" themed embellishments that match the color scheme.  I did grab some leftover flashcards that I created for a counterfeit kit last year---I plan on stamping them to 'counterfeit' the flashcards from the inspiration kit---I will post a tutorial for that in the next few days on the CKCB.

I hope to scrap about 6 layouts with this kit, and already have the photos pulled and ready to go...we will see what happens!

Wednesday, March 21, 2012

Some Recent Layouts

I haven't posted any layouts in such a long time....here are a few recent ones that I haven't put away into albums yet.  When I saw the stack sitting there, I decided it was time to share them.  Next on my agenda...to put them all away!!!
I like the look of some of the single page layouts I have seen lately...but I work in double page layouts, so I tried to kind of combine the two styles here.
I decided to try tilting some photos for a change...lately everything I have made has been so linear.
I still love banners and pennants.  I listed 29 things we did on the 29th for this layout.  I typed it onto vellum using the typewriter I bought at a thrift store last month for $7!

I have wanted to try "tone on tone" titles!
This layout was fun since I only had 3 pictures but wanted to make a double page layout...so I got to use lots of patterned paper.

I got the little "beaded" bauble at a silk flower shop.

I didn't want to put the photo of this layout on the Internet because it is "potty training" pics...but I like the title and embellishment cluster, so I'll share that!!!
This is one of my favorite layouts in a long time...I think that's because I really like the photos and the supplies I used.

I like the look of these tiny bows...but it took FOREVER to tie them all!
I got a new sewing machine for Christmas...one that sews 60 different stitches.  I used my new machine for the first time on this layout.  I love this scalloped stitch!

Detail shot of the stitching.
I used an old Counterfeit Kit for this one!

I got inspiration for this layout from browsing the gallery on Two Peas---no designer in particular, just inspiration from many scrapbookers.
I love these pictures of the kids eating cookie dough...another layout with an old Counterfeit Kit.
I don't usually use these colors in my layouts, but they matched the photo PERFECTLY!!!

Detail shot of the embellishment cluster.
Oh my, a single page layout!!!  This one is for the final page of one of my albums ;)

Another layout from an old Counterfeit Kit.   I was so excited to take these photos myself of Maddy before her recital.

Detail shot of the embellishments.
I also had fun working on these pictures since I set up this studio in my house for Valentine's Day this year. This was my February Counterfeit Kit.

Detail shot of the embellishment cluster.
Another layout from an old Counterfeit Kit...using my handmade "circle" paper. 

Another layout using an old Counterfeit Kit...I believe this kit was from November 2012.  I LOVE Sassafras...it's really too bad they are no longer around.  Thankfully, I bought one of their huge grab bags before they closed their doors!


I added a few embellishments to the "cluster" that was on the patterned paper in order to make it look a bit more dimensional. 
Looking back at all of these layouts, it looks like I only scrapbook my daughter, not my son!!!  But in reality, the layouts are pretty much even ;)  Enjoy!!!

Tuesday, March 6, 2012

Counterfiet Kit Blog Hop March 2012

My blog is the last stop on the Counterfiet Kit Challenge Blog hop.  Thank you for following along this month.  I'm disappointed to say, that I HAVE NOT put my kit together yet!!!  I'm hoping to get one together in the next day or two.   I do plan on using a yellow and purple instead of a yellow and blue color scheme...the park near our house has a yellow and purple play area, needless to say, I have PLEANTY of pictures from that park that I never seem to get scrapped because I never have any matching paper and embellishments.  This is the perfect opportunity to pull a whole kit together to use for all of those park pictures from the past 4 1/2 years.  I really need to get to work!

Have a great week!!!

Thursday, January 5, 2012

Master Forger Blog Hop for Counterfeit Kit

I'm still here!  The holidays really got the best of my time for the past few months...but I'm back.  If you are following the Counterfeit Kit Blog Hop you are in the right place.  But I am the last stop, to see the hop from the beginning go here.  Counterfeit Kit Challenge Blog

I decided to counterfeit 3 of the 5 kits this month...I tried to copy the first kit, "Amber Snowflake", as close as possible.  And I actually purchased TWO pieces of paper for this kit...because I loved them so much!!! 
My Counterfeit "Amber Snowflake" Kit
I tried to go with very similar patterns and colors for the paper.  I added lots of extra alphabets (because I always seem to use run out of them in my kits).  I'm not too sure if I like the little red pops of color, but we'll see what happens when I try to use up my kit.  I had fun picking out the beautiful little buttons...and I'm not sure why I included so many snowflakes...wishful thinking, I guess.  This week it has been in the 80's everyday, needless to say, I rarely get a chance to take any snowy pictures!!!

The next kit I decided to Counterfeit was the "Cocoa and Marshmallows" kit...  I LOVED the alphabet stickers in the original kit, and REALLY had to fight the urge to but those!!!


My colors are pretty similar to the inspiration kit, but it doesn't have the same "feel"...I think I may make another kit using "Cocoa and Marshmallows" as my inspiration.  Next time I'll use a bit softer colors, and try to match the kit piece by piece, and I think I'll use patterns that match the original a bit better.    Don't get me wrong, I still like my kit, and I've already used half of it on a layout...I just REALLY like the inspiration kit too!

You can see my third Counterfeit Kit on the Counterfeit Kit Blog, at the beginning of the blog hop if you are interested.  Thanks for following along this month!!!

Wednesday, October 12, 2011

Some Fun Halloween Layouts

My October 2011 Counterfeit Kit...I made the 1st 2 layouts below with this kit.
 
I got this cool mini banner from a swap I was in last year, so I cannot take credit for designing it.  I couldn't wait to use it on a layout!!!  I sometimes find it hard to use papers with "scenes" on them (like the haunted house paper on the right), I have seen some very creative ways of incorporating paper like this on Pinterest, so I gave it a shot.

 
Another layout from my Counterfeit Kit here.  I decided to experiment with "collage" like groupings of photos on my layouts.   I think I like this look.  I used this technique on lots of layouts in the past 2 weeks. 
 
There are so many great "Halloween" Papers that seem hard to use to me at first.  They are like little pieces of artwork themselves, and I find it difficult to not cover up the important designs.  This "Happy Halloween" paper was a bit challenging to me.  I made the medallions myself, I scored the fold lines at 1/8" so they would lie relatively flat.
 
I LOVED this background paper...and I'm glad I found some pictures to work with it.  It was another one of those "challenging" pieces.
 
Not much special here, just a few simple embellishment clusters...the photos and patterned papers are already so busy and detailed.
 
More of that "collage" technique...I guess I really used it ALOT in the past 2 weeks!!!

I created the copper "pearl" flourishes with puffy paints!  I found if I gently tap the paper from the back side (while the puffy paint is still wet) it creates that rounded "pearl " top, rather than a little "mountain peak" on the top of each drop.  On a side note, I made the cape for the Beast costume, and I bought an old flower girl dress from a thrift store for $7 and dies it yellow, added some tulle and flowers, and viola...Belle!

This was a bit challenging to fit all the photos on this page.  I hardly ever use rub-ons, but the flourishes on this page are rub-ons from a kit from Basic Grey.

 
A more simple layout, I had fun using the faux "collages" on this one too!

A Fall Theme layout...rather than Halloween.  I actually used papers and stickers from this year's $1 Spot at Target!  I just love owls and had to get these.  I have been wanting to get some cloud paper too, so it was perfect!
 
Not one of my favorites...this reminds me of my older style, I think it's because of the tilted photo on the left.  For some reason, I like my photos to be either aligned straight, or ever so slightly tilted when I scrap now...so this tilted technique brings me back to my "older" days.  But I never re-do layouts...so this will just stay as it is :)

Tuesday, September 27, 2011

Counterfeit Kit Challenge Blog Hop

This is the last stop on the Counterfeit Kit Blog Hop!  Thanks for joining us.  This month's blog hop challenge was to showcase a stamping technique.  My technique is an older technique, I wanted to share it because I had forgotten all about it, but I like the look.  I'm hoping some of you like it too!  It can be recreated with any color embossing powders and paper, I used black and white in my example. 

I, once again,  used Unity stamps for this technique.  Sherri is sponsoring this month at the Counterfeit Kit Challenge Blog.  You can be entered to win a Unity stamp set by commenting on the blog hop post for today on the Counterfeit Kit Challenge Blog.


I gathered my supplies, which include, 2 different colors of cardstock and matching embossing powder, embossing ink, stamps, and a heat gun.

First, I stamped and heat embossed the same images on BOTH sheets of paper.  I did white embossing on the black paper, and black embossing on the white paper.

Next I choose just one color of each image and cut out it out. For my example I cut the white paper with the black embossed heart image and the black paper with the with embossed stamped text. 
 
Then I cut the identical image (in the opposite color) exactly in half and adhered that half to the top of my first image (making sure the images line up create a whole image.)  Next I flipped the embellishment over and trimmed off the excess paper.
 
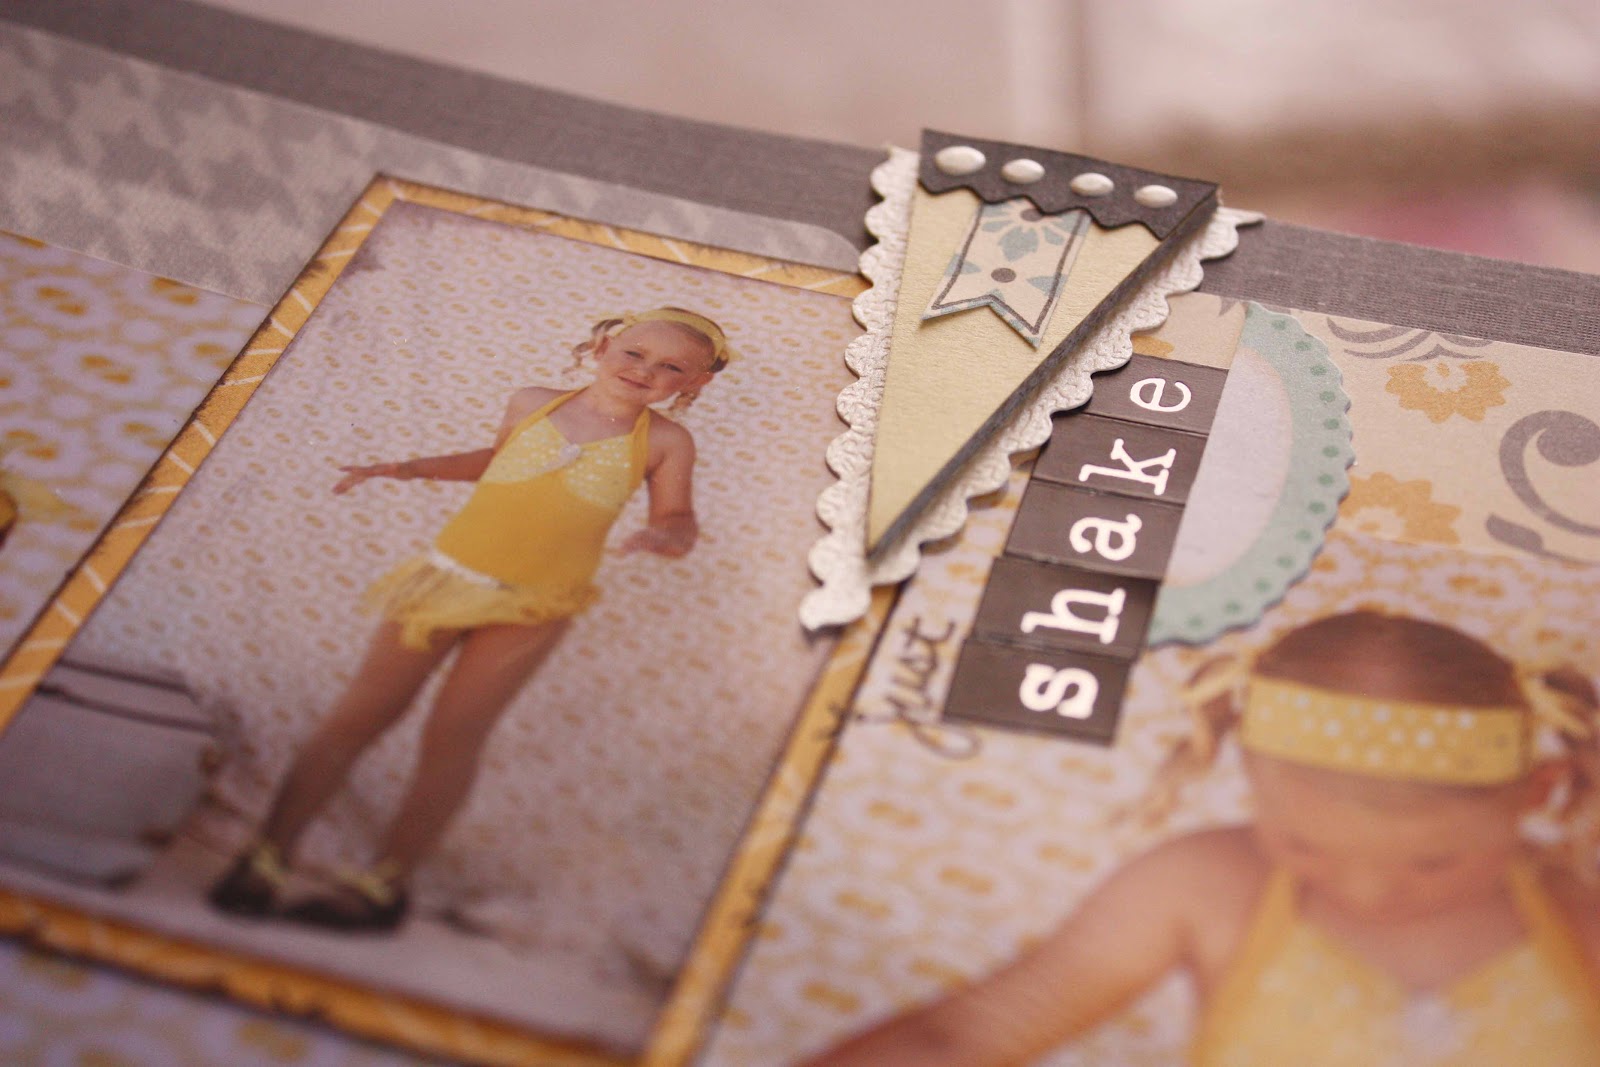
I matted the completed "split" stamped image onto a piece of patterned paper...and there you have it!  An interesting technique to spice up a stamped image on a layout or a card.